Complete Guide: Setting Up Marketing with Lynxbe

Introduction
Welcome to Lynxbe’s Marketing module! This powerful tool is designed to streamline your marketing efforts by providing functionalities such as email campaigns, social media management, and marketing analytics. Whether you’re a small business owner or an operations manager, mastering this module will significantly enhance your marketing strategies and improve your engagement with customers. With Lynxbe, you can efficiently manage your campaigns, track performance, and make informed decisions to grow your business.
Prerequisites and Setup Requirements
Before diving into the setup process, it’s essential to ensure that you have the following prerequisites:
- A Lynxbe account with access to the Marketing module.
- An understanding of your target audience and marketing goals.
- Access to your brand assets such as logos, images, and promotional materials.
- Social media accounts linked to your brand.
- Email lists segmented according to your audience demographics.
Step-by-Step Setup Guide
Step 1: Access the Marketing Module
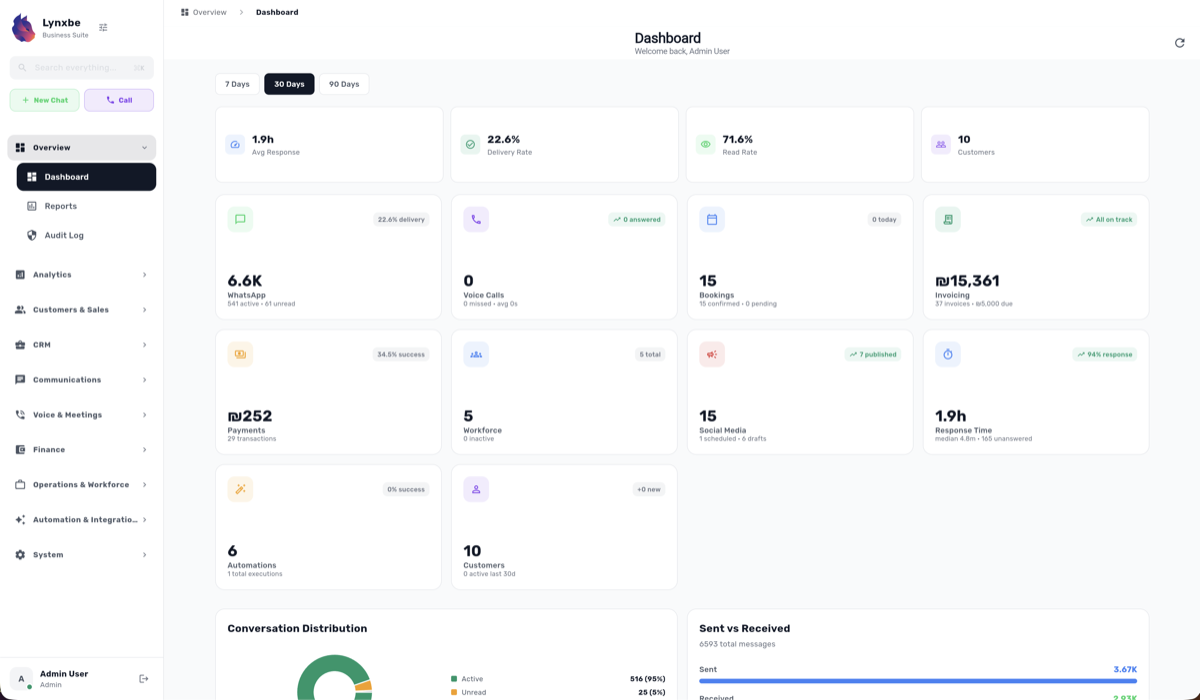
Log in to your Lynxbe account. From the dashboard, navigate to the 'Modules' section and click on 'Marketing' to access the marketing tools available.
Step 2: Create Your First Email Campaign
To create an email campaign:
- Click on the ‘Email Campaigns’ tab from the Marketing dashboard.
- Select ‘Create New Campaign’.
- Fill in the campaign details including the subject line, sender name, and email content. Utilize the rich text editor to format your email.
- Upload images and branding assets to enhance the visual appeal of your email.
- Segment your audience by choosing specific lists or demographics for targeted outreach.
- Preview the email and send a test email to ensure everything appears as intended.
- Schedule or send your campaign immediately.
Step 3: Manage Your Social Media Accounts
To manage your social media presence:
- Navigate to the ‘Social Media Management’ section from the Marketing dashboard.
- Link your social media accounts by selecting ‘Add Account’ and following the prompts for your respective platforms.
- Create posts for your social media by choosing the ‘Create Post’ option.
- Utilize the built-in scheduling tool to plan your posts for optimal engagement times.
- Monitor interactions and engagement metrics in real-time.
Step 4: Analyze Your Campaign Performance
Understanding how your campaigns perform is key to future success:
- Go to the ‘Campaign Analytics’ section.
- Select the campaign you wish to analyze.
- Review metrics such as open rates, click rates, and conversion rates.
- Utilize the data to adjust your strategies for future campaigns.
Step 5: Audience Segmentation
Segmentation allows you to send targeted messages:
- In the Marketing module, navigate to ‘Audience Segmentation’.
- Define your segments based on demographic data, past purchase behavior, or engagement levels.
- Create tailored messages for each segment to improve engagement and conversion rates.
- Save your segments for future campaigns.
Step 6: Utilize New Features
With the recent updates, there are new features to explore:
- Explore the Ads CLI for managing Meta ad campaigns directly from the command line. This allows developers to create, edit, and analyze campaigns without custom code.
- Use the available templates such as Media Card Carousel Templates, Limited Time Offer Templates, and Coupon Templates for your campaigns to enhance engagement.
- Ensure to check the API routes for any specific implementations that might be lacking as per your needs.
Step 7: Automate Your Marketing Efforts
Consider automating repetitive tasks:
- Utilize the automation features within the Email Campaigns section to set triggers for sending emails based on user actions.
- Schedule social media posts in advance to maintain a consistent online presence.
- Set reminders for follow-ups with customers based on their interactions with your campaigns.
Step 8: Continuous Improvement
Always look for ways to enhance your marketing strategies:
- Regularly assess the performance of your campaigns and make adjustments accordingly.
- Stay updated with the latest marketing trends and adapt your strategies to align with industry standards.
- Engage with your audience to gather feedback and insights that can inform future campaigns.
Configuration Tips and Best Practices
To maximize the effectiveness of the Marketing module, consider the following tips:
- Consistent Branding: Ensure that all your marketing materials maintain a cohesive brand identity, including colors, logos, and messaging.
- Personalization: Personalize your emails and social media posts to increase engagement. Use the recipient’s name and tailor content to their interests.
- Testing: Conduct A/B testing for your email campaigns to determine what resonates best with your audience.
- Regular Updates: Frequently update your audience segments and marketing materials to reflect current trends and customer preferences.
Common Use Cases by Industry
The Lynxbe Marketing module is versatile and can be tailored to various industries. Here are some common use cases:
Restaurants
Restaurants can use email campaigns to share new menu items, special promotions, or events. Social media management can help keep customers updated on daily specials or highlight customer reviews.
Clinics
Clinics can segment their audience to send personalized appointment reminders or health tips. They can also promote special health packages through targeted email campaigns.
Real Estate
Real estate agents can use the platform to showcase new listings via email and social media. They can also analyze customer engagement to tailor follow-up strategies.
Retail
Retail businesses can create coupon templates and limited time offers to drive sales. They can also utilize campaign analytics to measure the success of their promotions.
Troubleshooting Common Issues
Here are some common issues you might encounter and how to resolve them:
- Email Campaigns Not Sending: Ensure your email list is verified and that you have not exceeded your sending limits.
- Social Media Posts Not Appearing: Check the connection to your social media accounts and ensure that posts are scheduled correctly.
- Analytics Not Updating: Refresh your analytics dashboard and check for any filters applied that may be restricting data visibility.
Integration with Other Lynxbe Modules
The Marketing module integrates seamlessly with other Lynxbe modules to enhance your business operations:
- Sales Module: Use marketing data to inform your sales strategies and improve customer outreach.
- Customer Relationship Management (CRM): Leverage customer insights from your marketing campaigns to enhance relationships and tailor communications.
- Analytics Module: Dive deeper into your marketing performance with advanced analytics and reporting tools to track your ROI.
Conclusion with Next Steps
Setting up marketing with Lynxbe is a straightforward process that can significantly improve your business’s outreach and engagement efforts. Start by implementing the steps outlined in this guide, and don’t hesitate to explore the new features introduced in the latest updates. As you become familiar with the Marketing module, consider expanding your strategies by integrating with other Lynxbe modules for a comprehensive business solution. Stay updated with Lynxbe’s resources and community for ongoing support and new ideas.


Comments
💬 Share your thoughts