Complete Guide: Setting Up Voice with Lynxbe

Complete Guide: Setting Up Voice with Lynxbe
In the modern business landscape, efficient communication is key to success. The Voice module from Lynxbe revolutionizes how businesses interact with their customers and teams through advanced cloud telephony features. This tutorial will guide you through setting up the Voice module, ensuring you can leverage its full potential for inbound and outbound calling, call queues, IVR, call recordings, and video conferencing rooms.
1. Introduction
The Voice module is designed to provide businesses with a comprehensive telephony solution. Whether you are a restaurant managing customer orders, a clinic coordinating patient visits, a real estate agency scheduling property viewings, or a retail business handling customer inquiries, the Voice module enhances communication efficiency and improves customer satisfaction. With features like call queues, IVR systems, and call recordings, Lynxbe's Voice module is an invaluable asset for any organization looking to streamline their telecommunication processes.
2. Prerequisites and Setup Requirements
Before you begin setting up the Voice module, ensure you meet the following prerequisites:
- A Lynxbe account with administrative access.
- A stable internet connection.
- A compatible device (computer, tablet, or smartphone) for accessing the Lynxbe platform.
- Basic knowledge of telephony systems and business communication.
3. Step-by-Step Setup Guide
Follow these steps to set up the Voice module in Lynxbe:
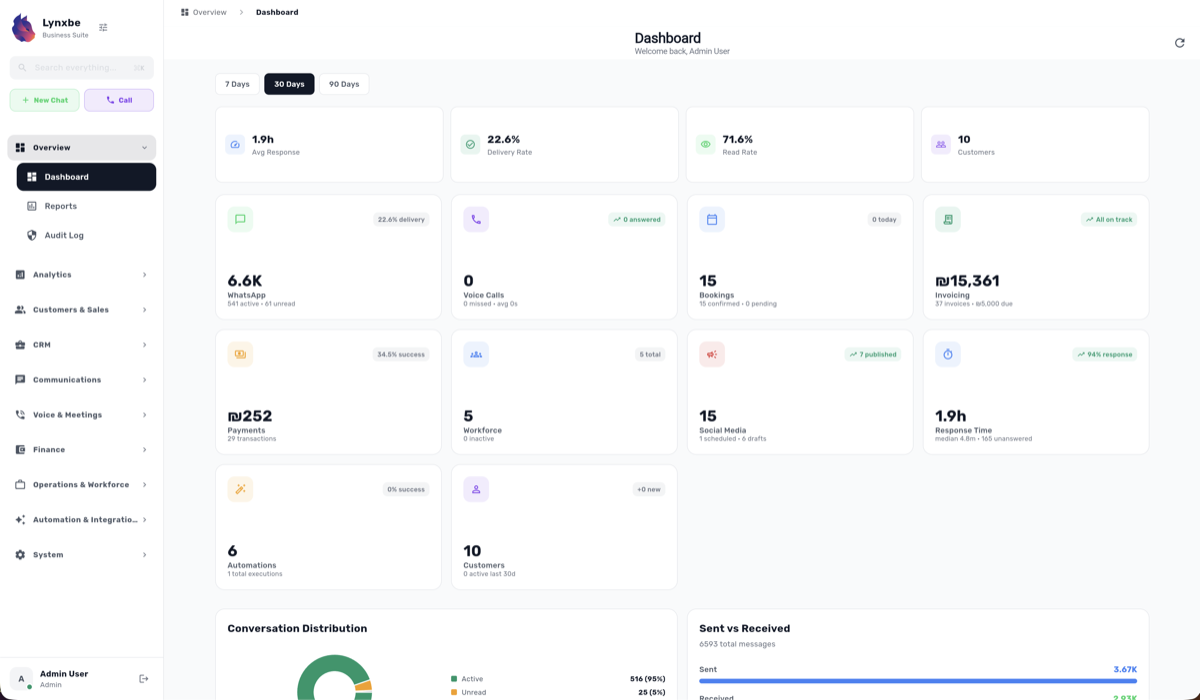
Step 1: Log into Your Lynxbe Account
- Open your web browser and navigate to the Lynxbe login page.- Enter your credentials (username and password) to access your dashboard.
Step 2: Access the Voice Module
- From your dashboard, locate the 'Modules' section.- Click on 'Voice' to enter the Voice module settings.
Step 3: Configure Your Phone Number
- In the Voice module, navigate to the 'Settings' tab.- Select 'Phone Numbers' and click on 'Add New Number.'- Follow the prompts to purchase or connect a phone number for your business.
Step 4: Set Up Call Queues
- In the Voice settings, go to 'Call Queues.'- Click 'Create New Queue' and name your queue (e.g., 'Sales Team').- Assign agents to the queue and configure the wait music or announcements for callers.
Step 5: Set Up IVR (Interactive Voice Response)
- Navigate to the 'IVR' section within the Voice module.- Click on 'Create IVR' and design your menu options (e.g., 'Press 1 for Sales, Press 2 for Support').- Assign actions to each option, such as directing calls to specific queues or providing information.
Step 6: Enable Call Recordings
- Return to the main settings of the Voice module.- Find the 'Call Recording' option and toggle it on.- Configure your recording settings, such as which calls to record and where to store the recordings.
Step 7: Create Video Conferencing Rooms
- In the Voice module, select the 'Video Rooms' tab.- Click 'Create New Room' and set a name for your video meeting room.- Configure room settings, including password protection and participant limits.
Step 8: Test Your Setup
- Make a test call to ensure your phone number is working correctly.- Test your IVR menu by calling your number and navigating through the options.- Check if your call recordings are being saved correctly and that video conferencing rooms are functioning as intended.
4. Configuration Tips and Best Practices
To maximize the effectiveness of the Voice module, consider the following tips:
- Keep IVR Menus Simple: Limit the number of options in your IVR to avoid confusing callers.
- Regularly Review Call Logs: Use call logs to analyze call patterns and improve service delivery.
- Test Call Queues: Periodically test your call queues to ensure they are working smoothly and that wait times are reasonable.
- Train Your Team: Provide training to your agents on using the Voice module effectively and responding to calls promptly.
- Utilize Call Recordings: Review call recordings to assess customer interactions and identify areas for improvement.
5. Common Use Cases by Industry
The Voice module is versatile and adaptable to various industries. Here are some common use cases:
Restaurants
Restaurants can use the Voice module to manage reservations and take orders efficiently. By utilizing call queues and IVR, customers can easily navigate through options to place their orders or make reservations without overwhelming staff.
Clinics
Clinics can benefit from the Voice module by scheduling patient appointments and handling inquiries. The IVR system can direct patients to the appropriate departments, reducing wait times and improving patient satisfaction.
Real Estate
Real estate agencies can manage inquiries about properties effectively through call queues. With call recordings, agents can review their interactions to enhance their sales techniques and better meet client needs.
Retail
Retail businesses can streamline customer service by utilizing the Voice module for handling inquiries and complaints. The IVR system can provide information about store hours, product availability, and more, reducing the workload on staff.
6. Troubleshooting Common Issues
If you encounter any issues while using the Voice module, consider the following troubleshooting tips:
- Issue: Unable to make or receive calls.Solution: Verify that your internet connection is stable and that your phone number is correctly configured in the settings.
- Issue: IVR not functioning as expected.Solution: Check the IVR configuration for any errors and ensure that the options are properly linked to the corresponding actions.
- Issue: Call recordings are not saving.Solution: Ensure that the call recording feature is enabled in the settings and check the storage location for recordings.
- Issue: Video conferencing issues.Solution: Ensure your device meets the required specifications and check your internet connection. Test the video room settings for any configuration issues.
7. Integration with Other Lynxbe Modules
The Voice module integrates seamlessly with other Lynxbe modules to enhance overall functionality. Here are a few examples:
- CRM Module: Integrate Voice with the CRM module to track customer interactions and improve relationship management.
- Analytics Module: Use the analytics module to monitor call metrics and gain insights into customer behavior and staff performance.
- Project Management Module: Enhance team collaboration by using video conferencing rooms for project meetings and discussions.
8. Conclusion with Next Steps
Setting up the Voice module with Lynxbe can significantly enhance your business's communication capabilities. By following this guide, you can ensure a smooth setup process and address common issues effectively. As you become familiar with the Voice module, consider exploring its integration with other Lynxbe modules for an even more robust business solution.
Next Steps:
- Conduct training sessions for your team on the Voice module and its features.
- Regularly review and optimize your Voice module settings based on business needs and customer feedback.
- Stay updated on new features and enhancements from Lynxbe to continuously improve your communication strategies.
With the Voice module, you are well-equipped to take your business communications to the next level. Start leveraging its features today for a more efficient and effective customer interaction experience!


Comments
💬 Share your thoughts